AeroPress is a fun and very user friendly brew method. It was released in 2005, promising to deliver a ‘uniform extraction of the ultimate in full coffee flavor’, and has never looked back since. It is loved by home brewers and coffee professionals alike, attracting a near-cult following from coffee lovers, especially from younger demographics. It has its own global competition and is advocated by big names in the coffee industry as a brew method that everyone must try at least once in their lifetime.
AeroPress markets itself to reduce brew time and to produce a rich tasting, complex coffee with lower acidity and without undesired bitterness. It’s comparatively affordable, very travel friendly and the best part about AeroPress as a brew method is that it’s incredibly versatile. You can brew it upright or even upside down (often referred to as “inverted”). You can brew a drip coffee strength cup from it or you can challenge yourself with a brew that almost tastes like a shot of espresso. The possibilities are endless.
Fun fact: AeroPress is Invented by a modern day legend Alan Adler, who also invented Aerobie, known for setting several world records for the farthest thrown object!
Today, we will go into details on how to use the traditional method with AeroPress for brewing a regular strength coffee. Here’s a list of some useful tools to have handy, followed by a step-by-step to show you why so many people swear by it and how brewing an amazing coffee can be easy breezy.
. coffee beans
. burr grinder
. aeropress
. aeropress filter
. tea spoon or scale
. timer
. kettle
. spoon or stirrer
STEP 1: ASSEMBLE AEROPRESS
Each AeroPress set comes with two copolyester transparent smoked BPA-free plastic cylinders. One functions as a plunger with a rubber seal at one end, while the larger serves as the brewing chamber. The set also includes a filter screen, scoop, stirrer, funnel, filter, and filter holder. For a transitional method, place a pre-rinsed filter in the filter screen before securing it onto the brewing chamber. Set the assembled parts on a sturdy vessel that the brewer can sit comfortably and has enough volume for at least 9oz of brewed coffee.
STEP 2: GRIND YOUR COFFEE
From its distant origin, through the painstaking series of processing and post production, to our roastery where we roast those carefully sourced green coffee into the dark brown coffee beans that we are so familiar with, grinding your coffee fresh is arguably one of the many steps that will ensure the extraction of a quality cup.
For this particular method, we are using 15g of coffee and we are looking for a uniform medium fine grind size. If you don’t have a scale, you can use the spoon that comes with the brewer to measure. 15g of coffee comes just slightly short of a leveled scoop. AeroPress often makes a medium bodied brew. If you prefer a cleaner body, you can invest in a coffee sifter to remove extreme fines from your ground coffee before brewing; similarly, if you find your coffee tasting too strong and bitter, you can adjust to a lower temperature, or a coarse grind size.


STEP 3: GET THE WATER READY
We are using a slightly off boil temperature for this recipe, between 205°F and 208°F. As a rule of thumb lighter roasts usually works well with hotter water, as the higher temperature helps to increase extraction; however, one of the fun parts of Aeropress is the experiment and its versatility. Feel free to try different temperatures!
STEP 4: TIMER, POUR AND STIR
Start your timer and immediately start pouring hot water into the brewing chamber. Stop midway through and use a spoon or stirrer to make sure all coffee grounds are saturated before continuing pouring. All together we are pouring 240g of hot water. If you don’t have a scale, you can use the markings on the cylinder as your guideline. All together, the slurry should come up to just under the (4) mark.
Once you’ve reached your desired water level, quickly place the plunger on the brewing chamber. We need to insert the plunger in to create a vacuum seal, which will help prevent too much water lost/bypass.

STEP 5: PLUNGE
With one hand holding the brewing chamber steady, slowly and firmly push down the AeroPress plunger when your timer hits the 1’30” mark. We are aiming to finish the push at 2’00”. Stop pushing down once you hear the hissing from the coffee slurry.
If you are using a scale, remember to remove the scale before plunging to protect your scale from any damage.
STEP 6: STIR AND ENJOY
Remove the AeroPress from your brewing vessel or mug. Give the brewed coffee a quick stir. If you’re sticking with our recipe, wait a minute or two before enjoying your coffee, as our palates generally perceive more sweetness at a lower temperature.
HOW TO DIAL IN YOUR COFFEE
Every coffee is different to some extent. Some are fruitier when others might give you notes of chocolate. Your water temperature and the particle distribution from your grinder can all make an impact on how your coffee turns out. The best tool for dialing in is your palate. Through the course of making adjustments, try not to over complicate things. Stick to one change at a time and start with small changes.
If you find your coffee tasting too intense with hints of saltiness, try reducing the amount of coffee. Conversely, if your coffee is tasting both watery and bitter with this method, adding more coffee might provide a more balanced taste profile.
On the other hand, if your coffee has some acidity but lacking body and strength, try making the grind size finer; if your coffee tastes bitter even medicinal, try a coarser grind.
BONUS PRO TIPS
While the traditional approach is the most fundamental way to start your AeroPress journey, the initial stage may suffer a certain degree of water bypass when first pouring water in the cylinder. In an extreme case, a “channeling” taste may develop. If you’re able to train yourself to pour and stir slurry at the same time with precise timing, it will greatly improve the extraction. An immersion cap is also a great investment. It works by holding all the liquid in before pressure is applied, ensuring a total immersion of water and coffee. A very commonly used immersion cap is the Prismo by Fellow.
Another tip for brewing AeroPress without using additional tools is to insert your plunger at a slight angle when sealing the slurry. Once the seal is entirely under the rim, correct the angle back to level. This tricky step can help prevent unnecessary water being pushed down when you just want to form a vacuum seal.
Also, please make sure you are operating on a sturdy vessel. If you find your vessel is too narrow for the AeroPress to sit securely on top, try using the included funnel as an adaptor.
And if you find your grinder produces too many fines resulting in a thick and blurry brew, try using two filters instead of one. This is a good trick if you don’t have a sifter handy.

HAPPY BREWING
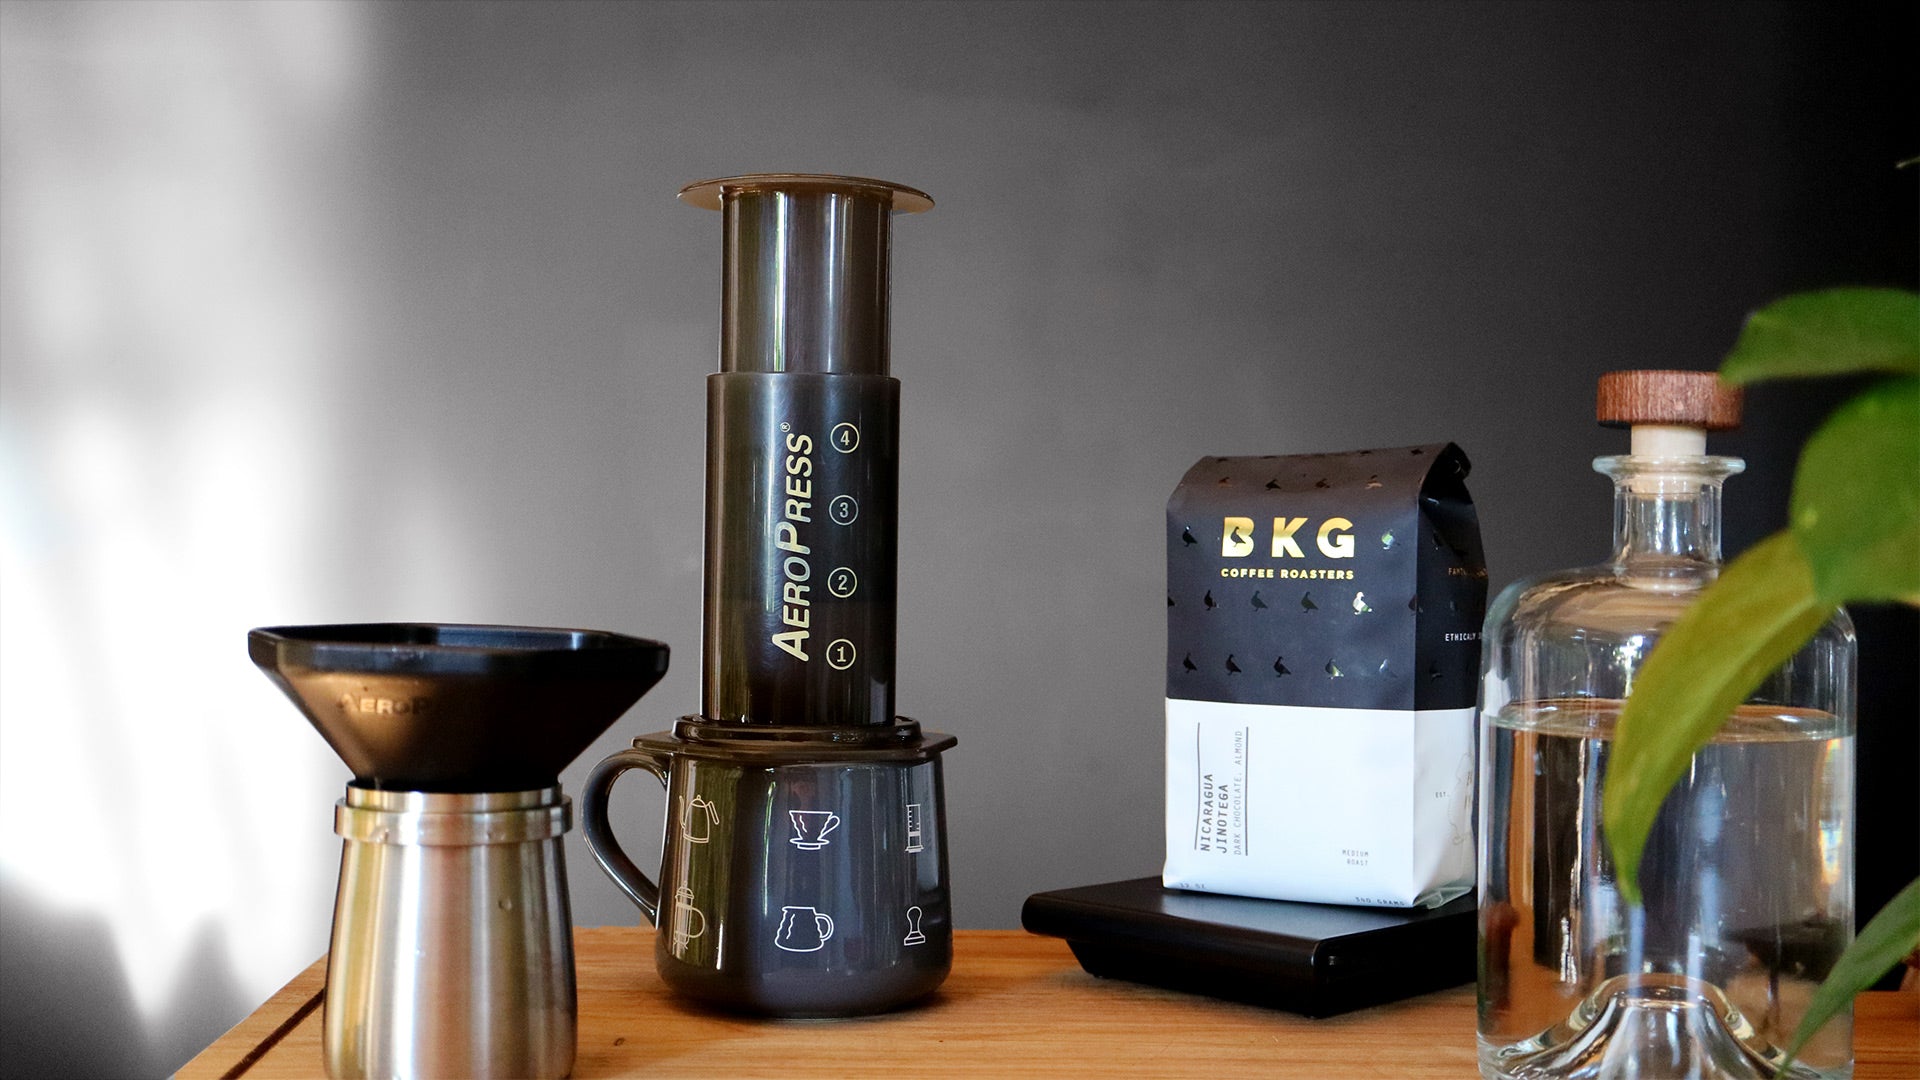
Hope you find this page helpful and enjoy your brew. We have a collection of meticulously roasted coffee that would all work wonderfully with this method. I personally do find a balanced coffee with chocolate and nutty notes, such as our Nicaragua Jinotega, brews particularly great with this method. It doesn’t get any more satisfying on a chilly morning than this! Please check out our current coffee curation on our website. Stay strong and we will see you on our next blog!
