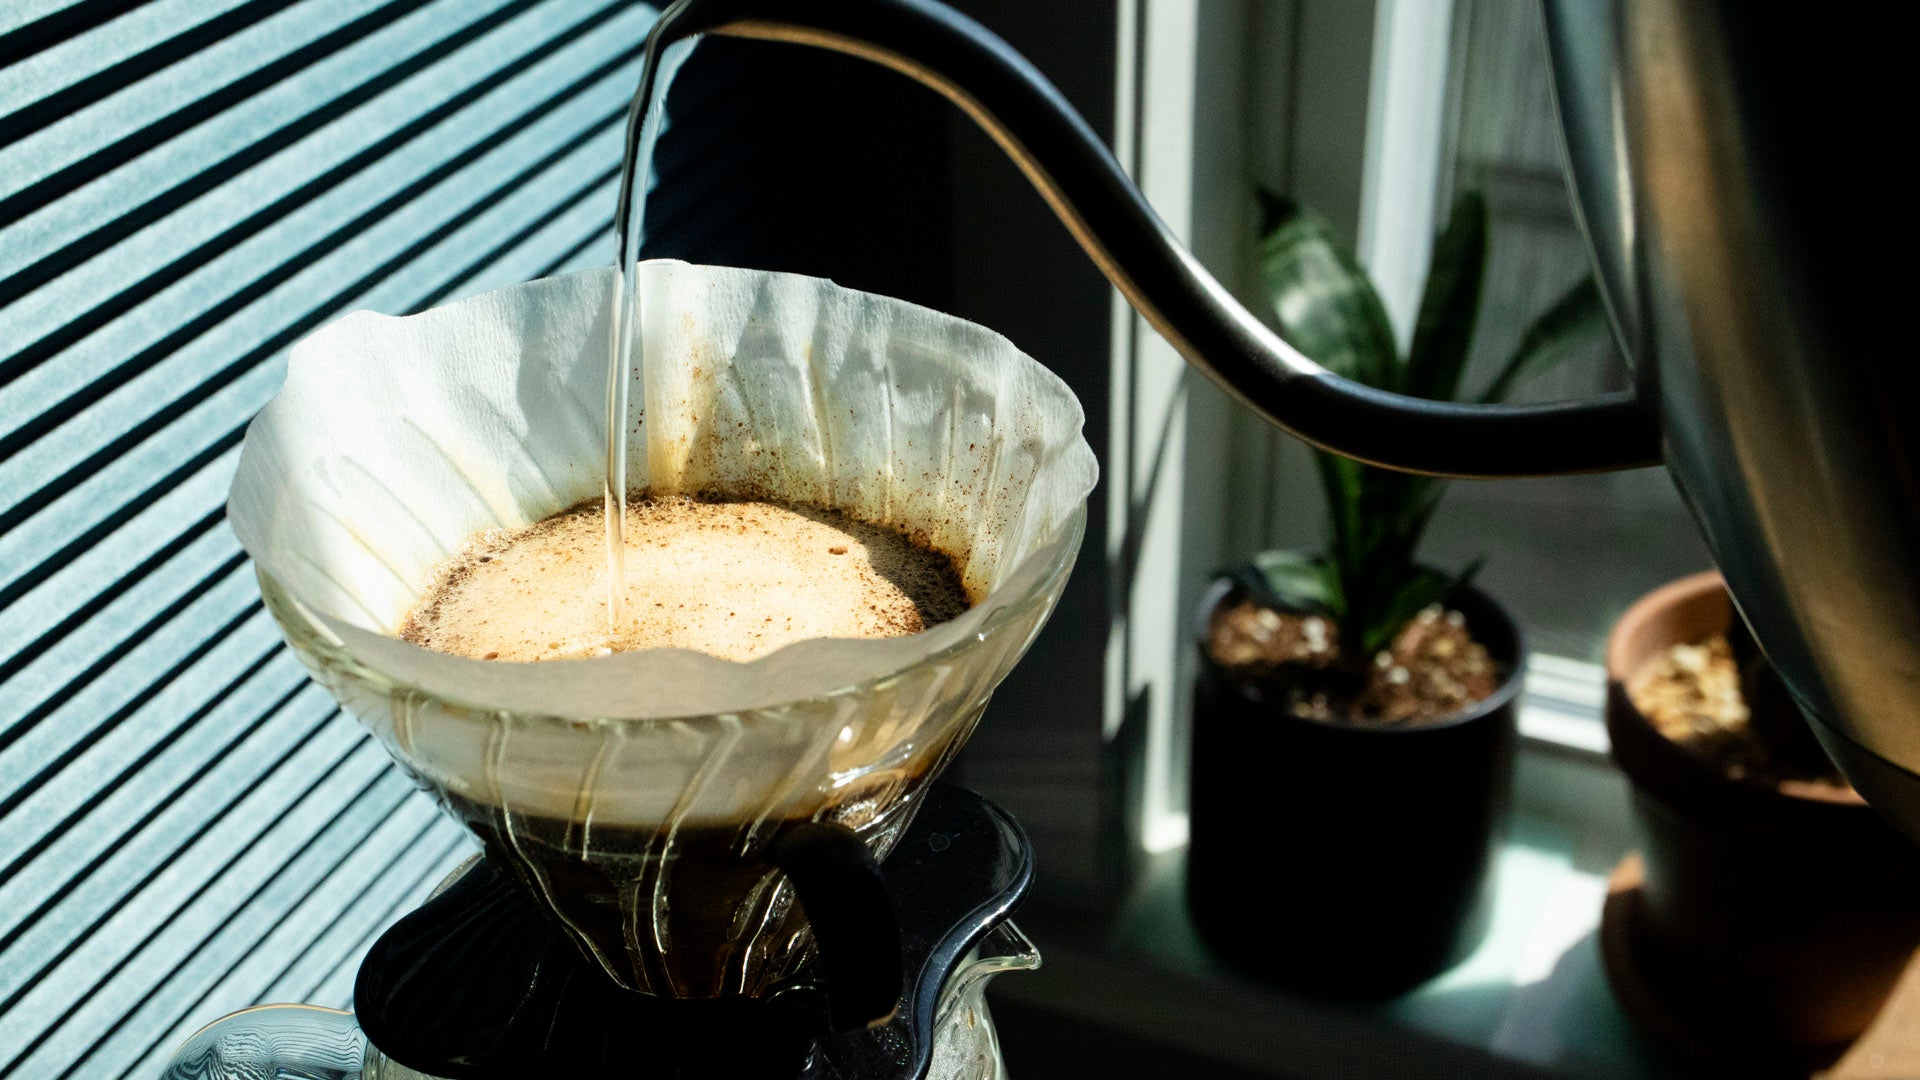
Have you checked out our previous brew guide on pour over and coffee extraction 101? This brew guide is going to continue both and bring you our golden recipe dialed in for our Ethiopian single origin. This is the recipe we use daily, crafted with care for every single cup. It has sparked so many great conversations about specialty coffee over the counter. We are really happy we are sharing this with you today, as well as some exercises to help you use your goose neck kettle like a pro!
This recipe requires a little bit more attention to the motion of your pouring, but the result is a balanced, sweet brew with a pleasant texture. We love our Ethiopia with this recipe because it marries the uplifting fruit notes with a comforting finish and body, truly a perfect cup.
As in our previous brew guide on pour over, we are using the following tools:
. coffee beans
. burr grinder
. V60 pour over brewer
. V60 filter
. scale
. timer
. goose neck kettle
. decanter or mug large enough to hold 14oz of liquid.
STEP 1: GET THE WATER READY
We are using water temperature of 205°F for this recipe. Check out our previous brew guide on water for more information about constructing your very own water for coffee.
STEP 2: SET UP V60
Fold the seam over onto the filter itself. Insert the filter into the brewer. Rinse the filter with hot water.

STEP 3: GRIND YOUR COFFEE
Weigh out 28g of coffee. Grind the coffee fresh on medium-fine.

STEP 4: BLOOM
Tare the scale and start the timer. Don’t forget to tip out the water in the decanter if you haven’t already!
Gently pour about 45g of hot water over the coffee ground. Be cautious and try to retain as much water with the coffee ground by aiming the water at the center of the ground. Let the coffee bloom until the 0’30” mark.
Blooming is an important step when it comes to pour over coffee. The purpose is to ensure all coffee grounds are saturated and ready for extraction.

STEP 5: PULSE POUR
Starting from the center outward to a maximum of 1/2 inch from the filter, Gently and steadily pour water to a total of 150g of water. This should bring you to the 1’00” mark.

STEP 6: SECOND POUR
Starting from the center, circle outward and back to the center without flushing the coffee off the filter. When the scale reads 300g of accumulated weight of water, the timer should read 2’00”.

STEP 7: FINAL POUR
Continue the motion with the second pour, add another 100g of water to bring a total of 400g. The timer should read 3’00” when you finish pouring. Allow the coffee to drip through which should take no more than another minute.

HOW TO DIAL IN YOUR COFFEE
For this recipe, particle distribution may play a major part in the resulting brews. At our flagship store, we use a commercial grinder with large flat burrs, good at producing consistent grind particles with less fines. If you try this recipe with a grinder that produces more extreme fines, even if the time check marks align exactly, you might still end up with a more extracted brew.
If you find that to be the case with your grinder, you can easily reduce the amount of extreme fines by sifting the coffee grinds with a tea strainer. You can play around with this hack a little, sometimes the coffee will turn out too light if you leave out too many fines.
After the grind adjustment, the water weight and time reference points listed in the steps can better serve as a dial in guide. For example, if your time is less than a minute when your water weight is already at 150g, then you can adjust your grind size finer; on the other hand, if your brew takes longer to finish dripping, then you might want to try a coarser grind setting.

BONUS PRO TIPS
If you would like to practice using a goose neck kettle, fill your kettle up to between half full to 3/4. Pour water down the sink, focusing on maintaining the same thickness of the water stream. Try slowly raising your kettle and slowly lowering it back down, and see if you can still keep the water steam the same. If you need extra stability, try placing the other hand on the lid of the kettle, or using a dry towel to support the kettle from underneath.
For motion control practice, place a small bowl in a larger bowl, continue the pouring technique from the previous exercise, but this time pour in a circular motion. Pour one circle inside the small bowl, and then another circle just outside the small bowl, but try to keep it as close to the brim as possible. Alternate pouring inside and outside the small bowl until you can execute the shifting comfortably.
These exercises will help you get better control of your goose neck kettle.


HAPPY BREWING
Now that we’ve let you in on one of our most guarded pro barista secrets, we hope you treasure this legacy and try your fresh coffee with this recipe. Let us know, did it work out for you? Feeling extra experimental? Try this with other coffees too!


